
 Our yard has been an explosion of color over the past few weeks with more and more flowers blooming each day. Last week, I decided to take advantage of the flowers and put my kids to work creating beautiful artwork for our walls. You can do the same, for a relatively small amount of money, and get a lasting piece of art in the process.
Here's what you need (All supplies found in art/craft stores and even some large discount stores):
Pre-stretched canvas We used 16"x 20," but they come in a variety of sizes. I got 2 for $5.99 on sale.
A set of brushes in a variety of sizes (I purchased a rather complete set that included a roll-up canvas storage case for $4.99 on sale. You can get smaller sets for $2.99).
Acrylic paints in a variety of colors. All you really need is the primary colors- red, blue, and yellow- plus white and maybe black. Let your kids have fun mixing the other colors. They'll love it! (I purchased "student" acrylics on sale for $3.99 per tube).
Newspaper to protect your work surfaces.
A surface/container on which to mix paint. We use tin foil.
A small container for water. We use margarine or cream cheese containers.
Smocks to protect your kids' clothes. We use old adult sized T-shirts- they cover everything!
If you're inclined- samples of artists' renditions of flowers for inspiration. We used a copy of Georgia O'Keefe 100 Flowers. I happen to love her flower paintings.
Here's what we did:
We took a quick look at the book of O'Keefe's work and then put it away. I wanted her art to inspire them to make large paintings, but didn't want them to copy her work. We spent no more than 5 minutes on this.
Each child chose a flower to paint. We happened to work in the porch, but you could also set your children/students up outside in a garden, with an easel, if you so choose. Mine preferred to work on a table. (When I did this in my classroom, I arranged vases of flowers on groups of desks and used sturdy paper instead of canvases).
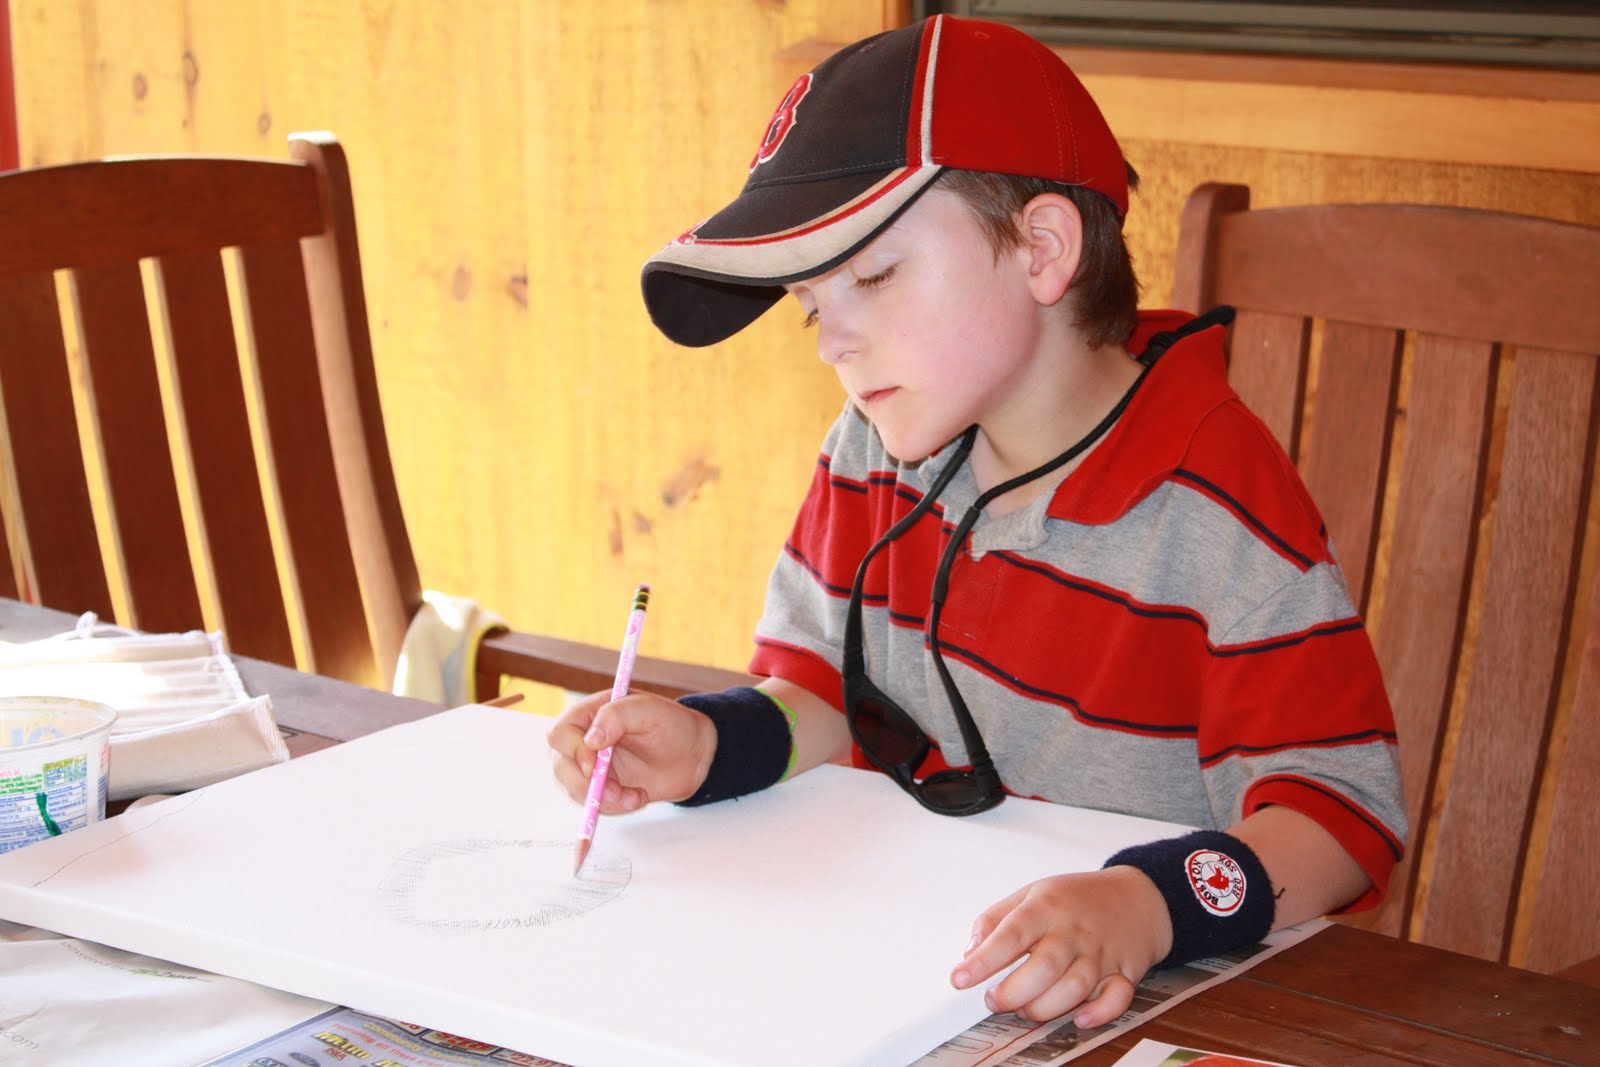
Each child chose how to begin. My son preferred to draw the basic outlines with pencil first.
My daughter wanted to launch right in with the paint.

4. I helped squirt the paint onto the tinfoil and then let them go. Here's the hard part... the best thing you can do to encourage a kid's inner artist is stay out of it. If they need help mixing colors, offer some guidance, but don't even touch those brushes to the canvas! Kids create the most wonderful, free art that captures the spirit of an object when left on their own. If they ask for help painting, tell them they're the artists and encourage them to paint their vision.
Here's what they made. Neither one looks exactly like the poppies they chose to draw, yet they are lovely, vibrant representations of the flowers my kids saw every day for about a week.

My 4 1/2 year old daughter's painting

My 8 year old son's painting
Would this idea work for your family or classroom? Do you have any great tips for combining a love of nature and art? Please share your thoughts.
No comments:
Post a Comment